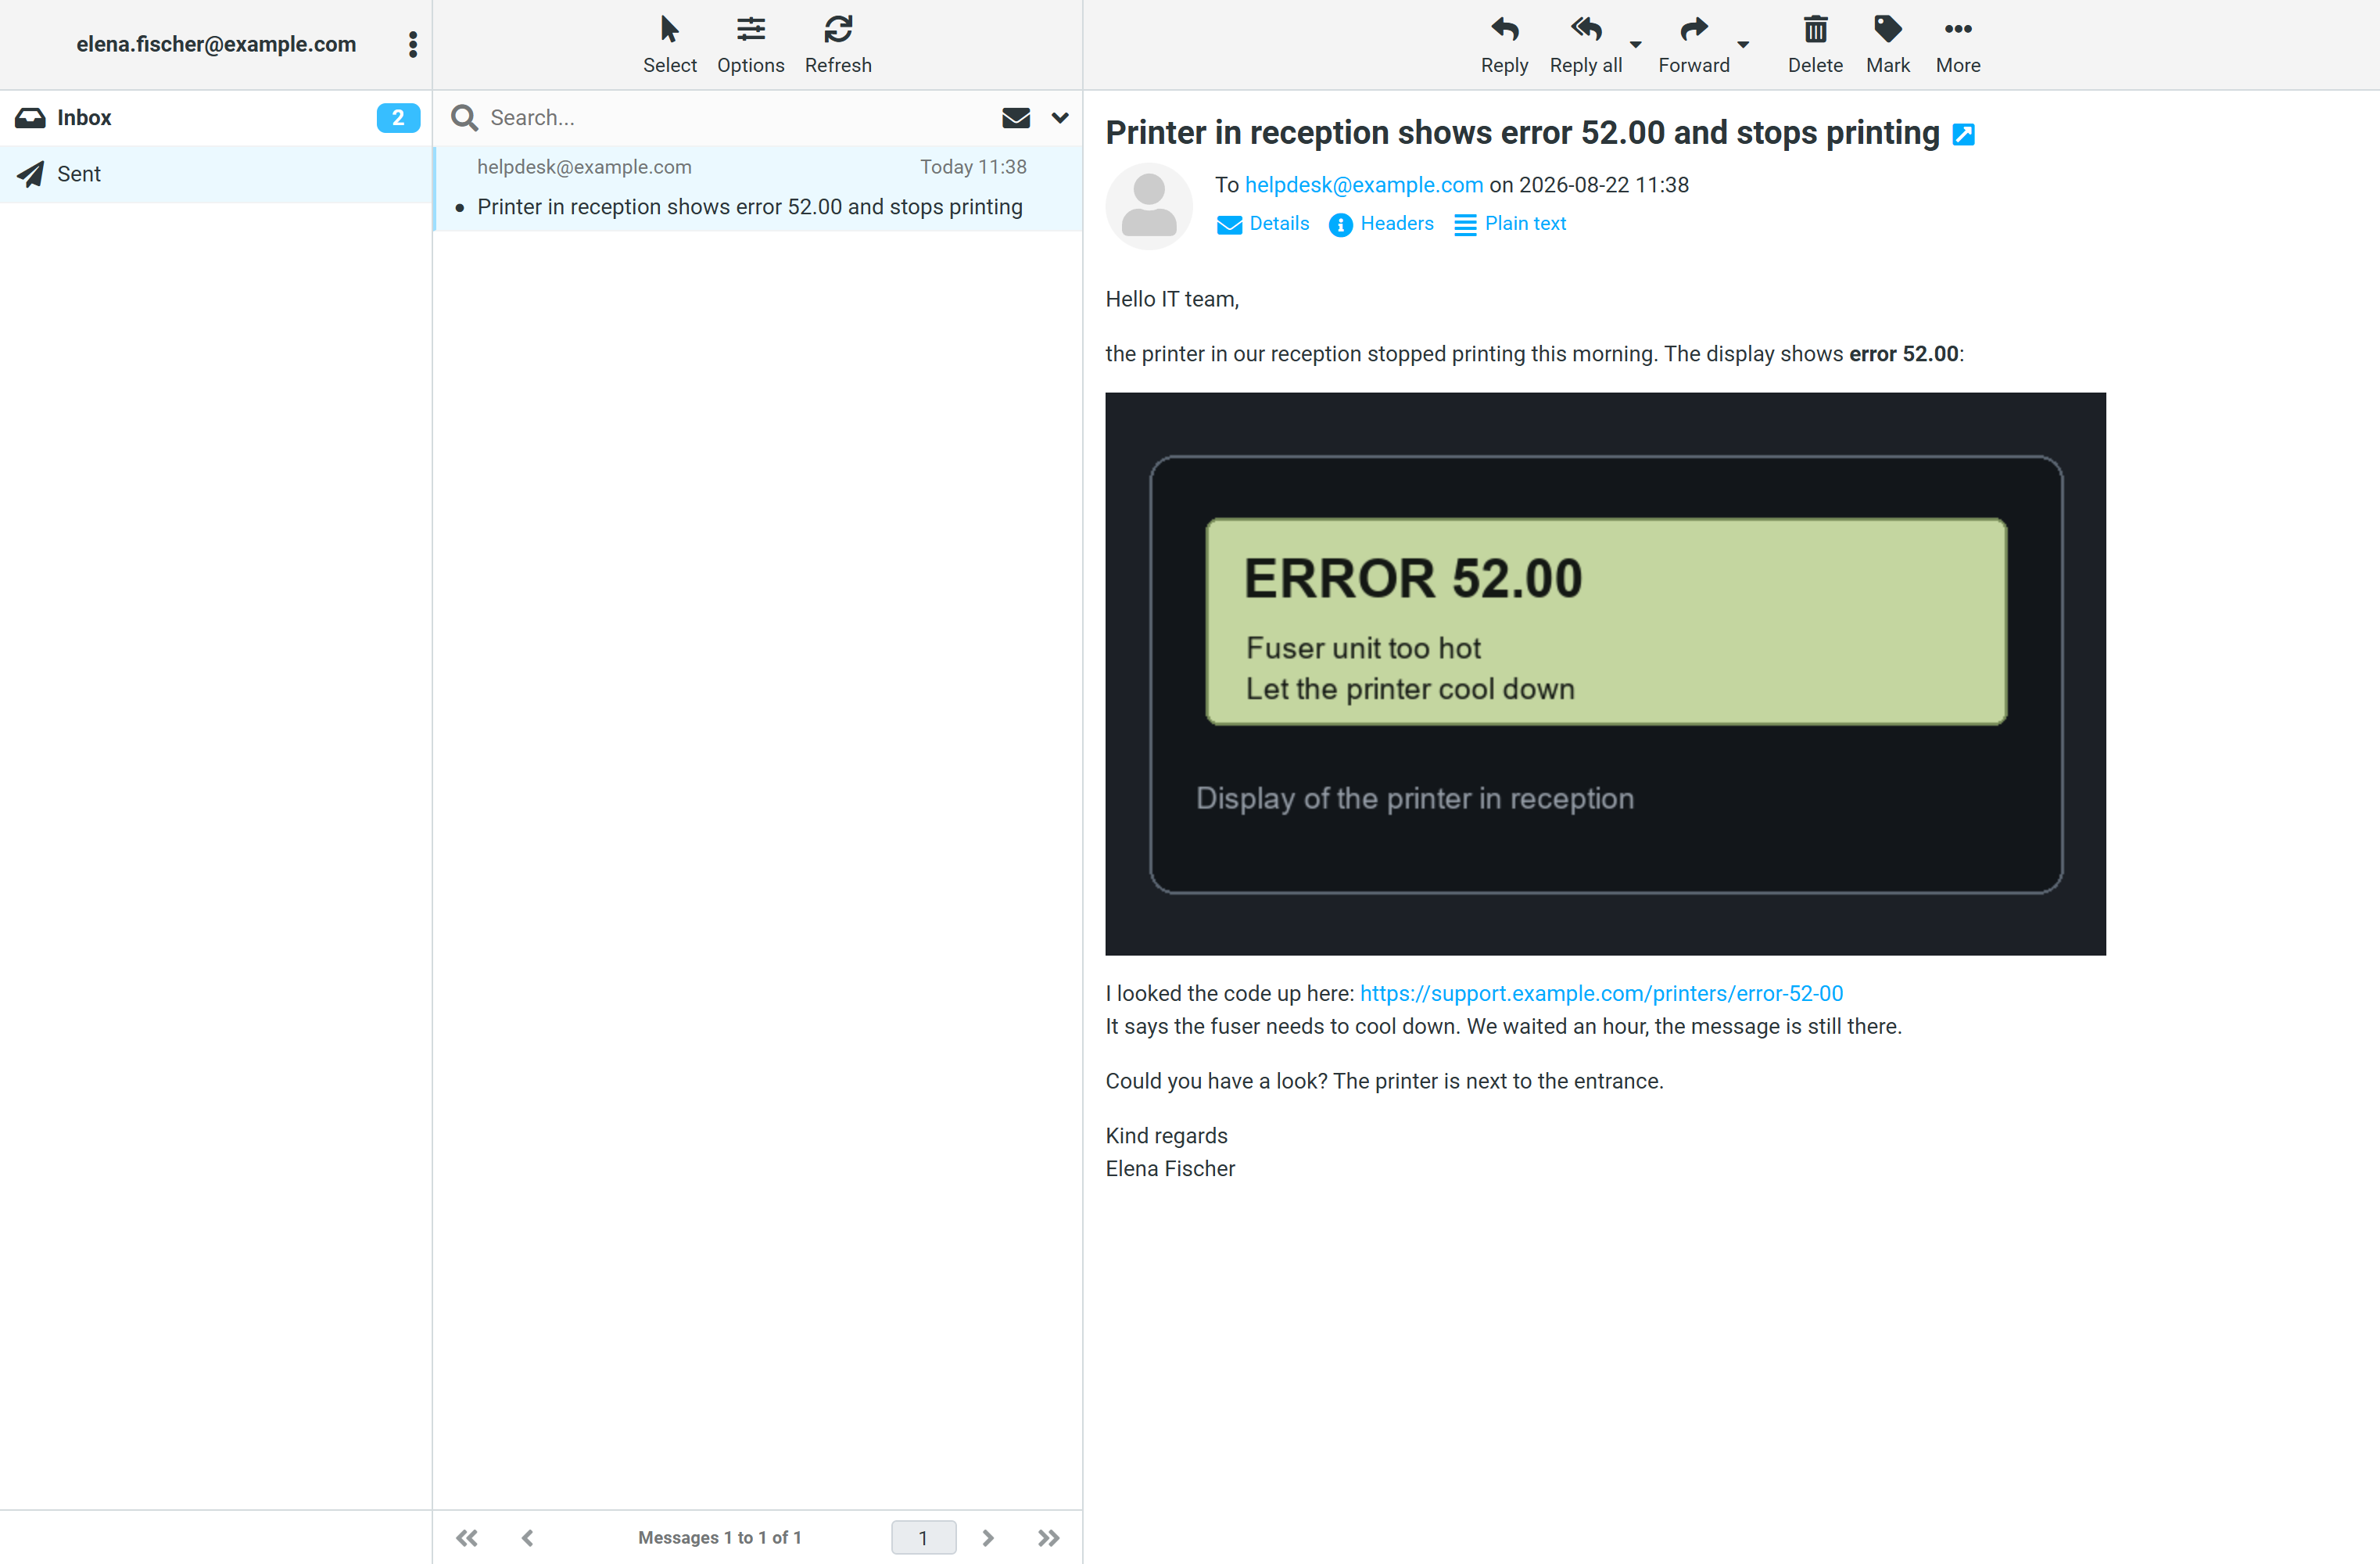
The mail channel is one road with two directions, and they belong together: an incoming mail turns into a ticket, your reply goes out as mail, and the requester’s answer lands as a comment on the same ticket — not on a second one.
The matching is not done by feel: a reply only lands on the existing ticket when the mail carries the case’s reference in its subject or brings the reply headers of the mail program with it. A mail with neither starts a new case — better one ticket too many than two unrelated cases merged just because the subject happened to match.
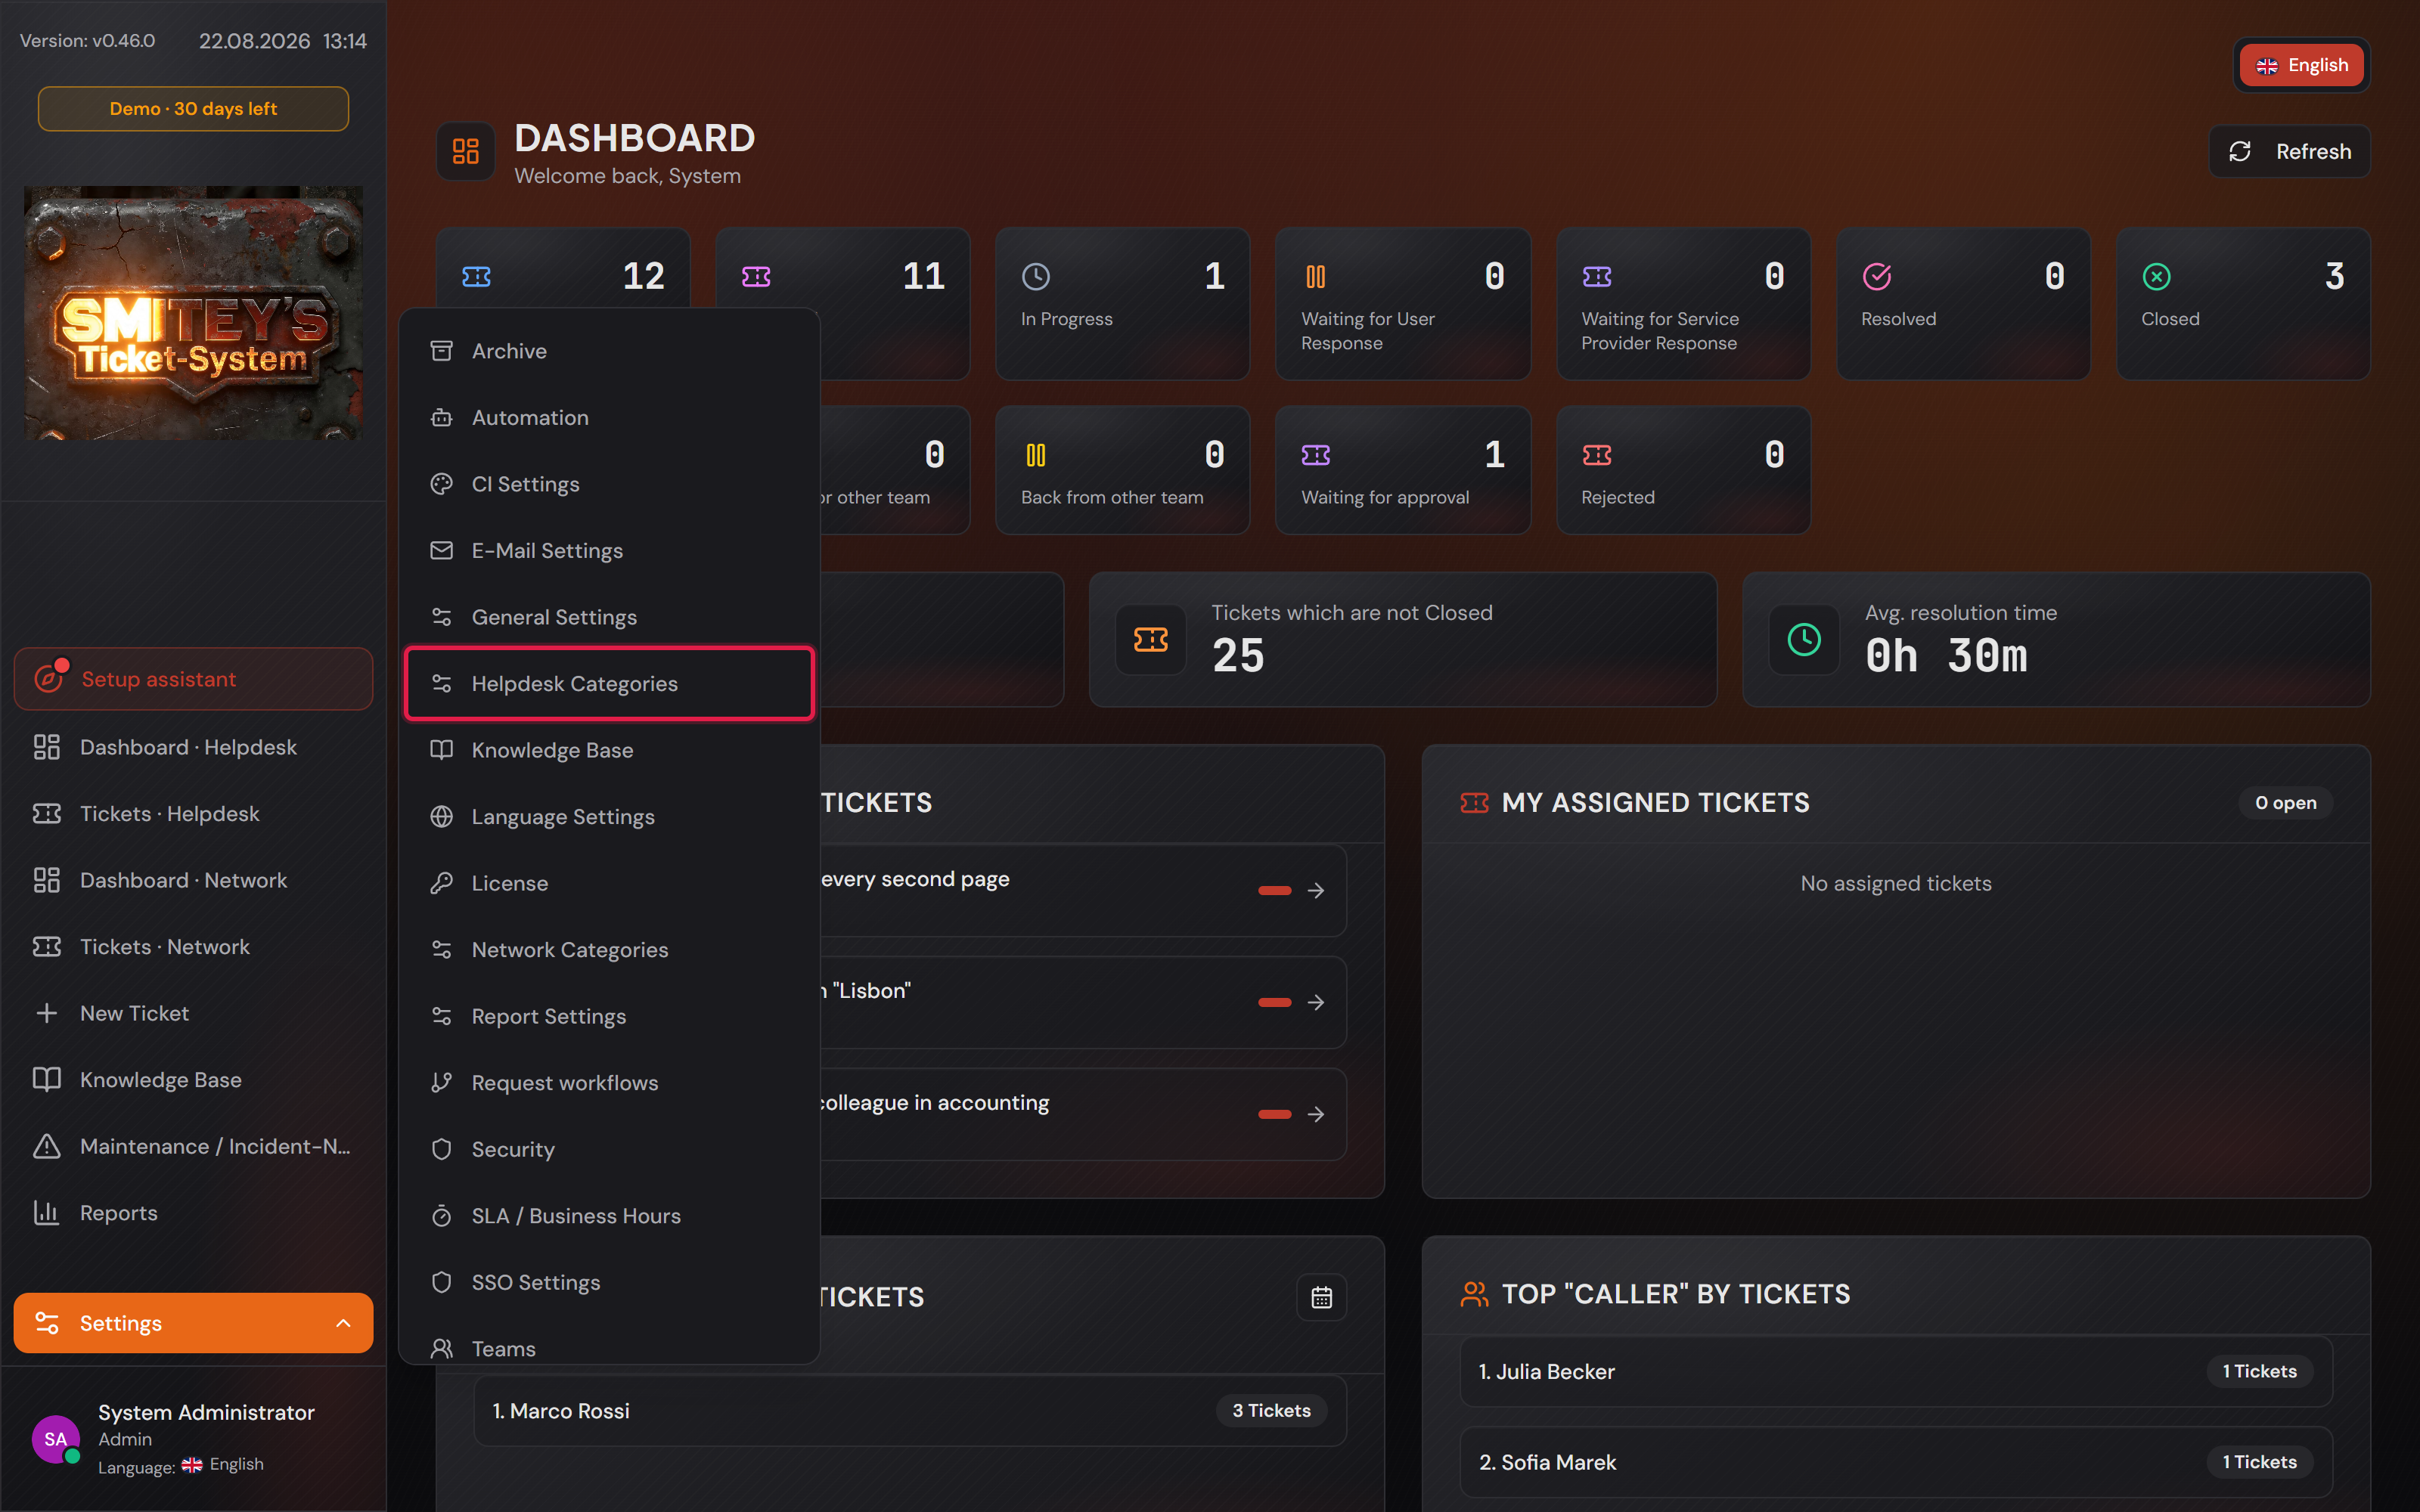
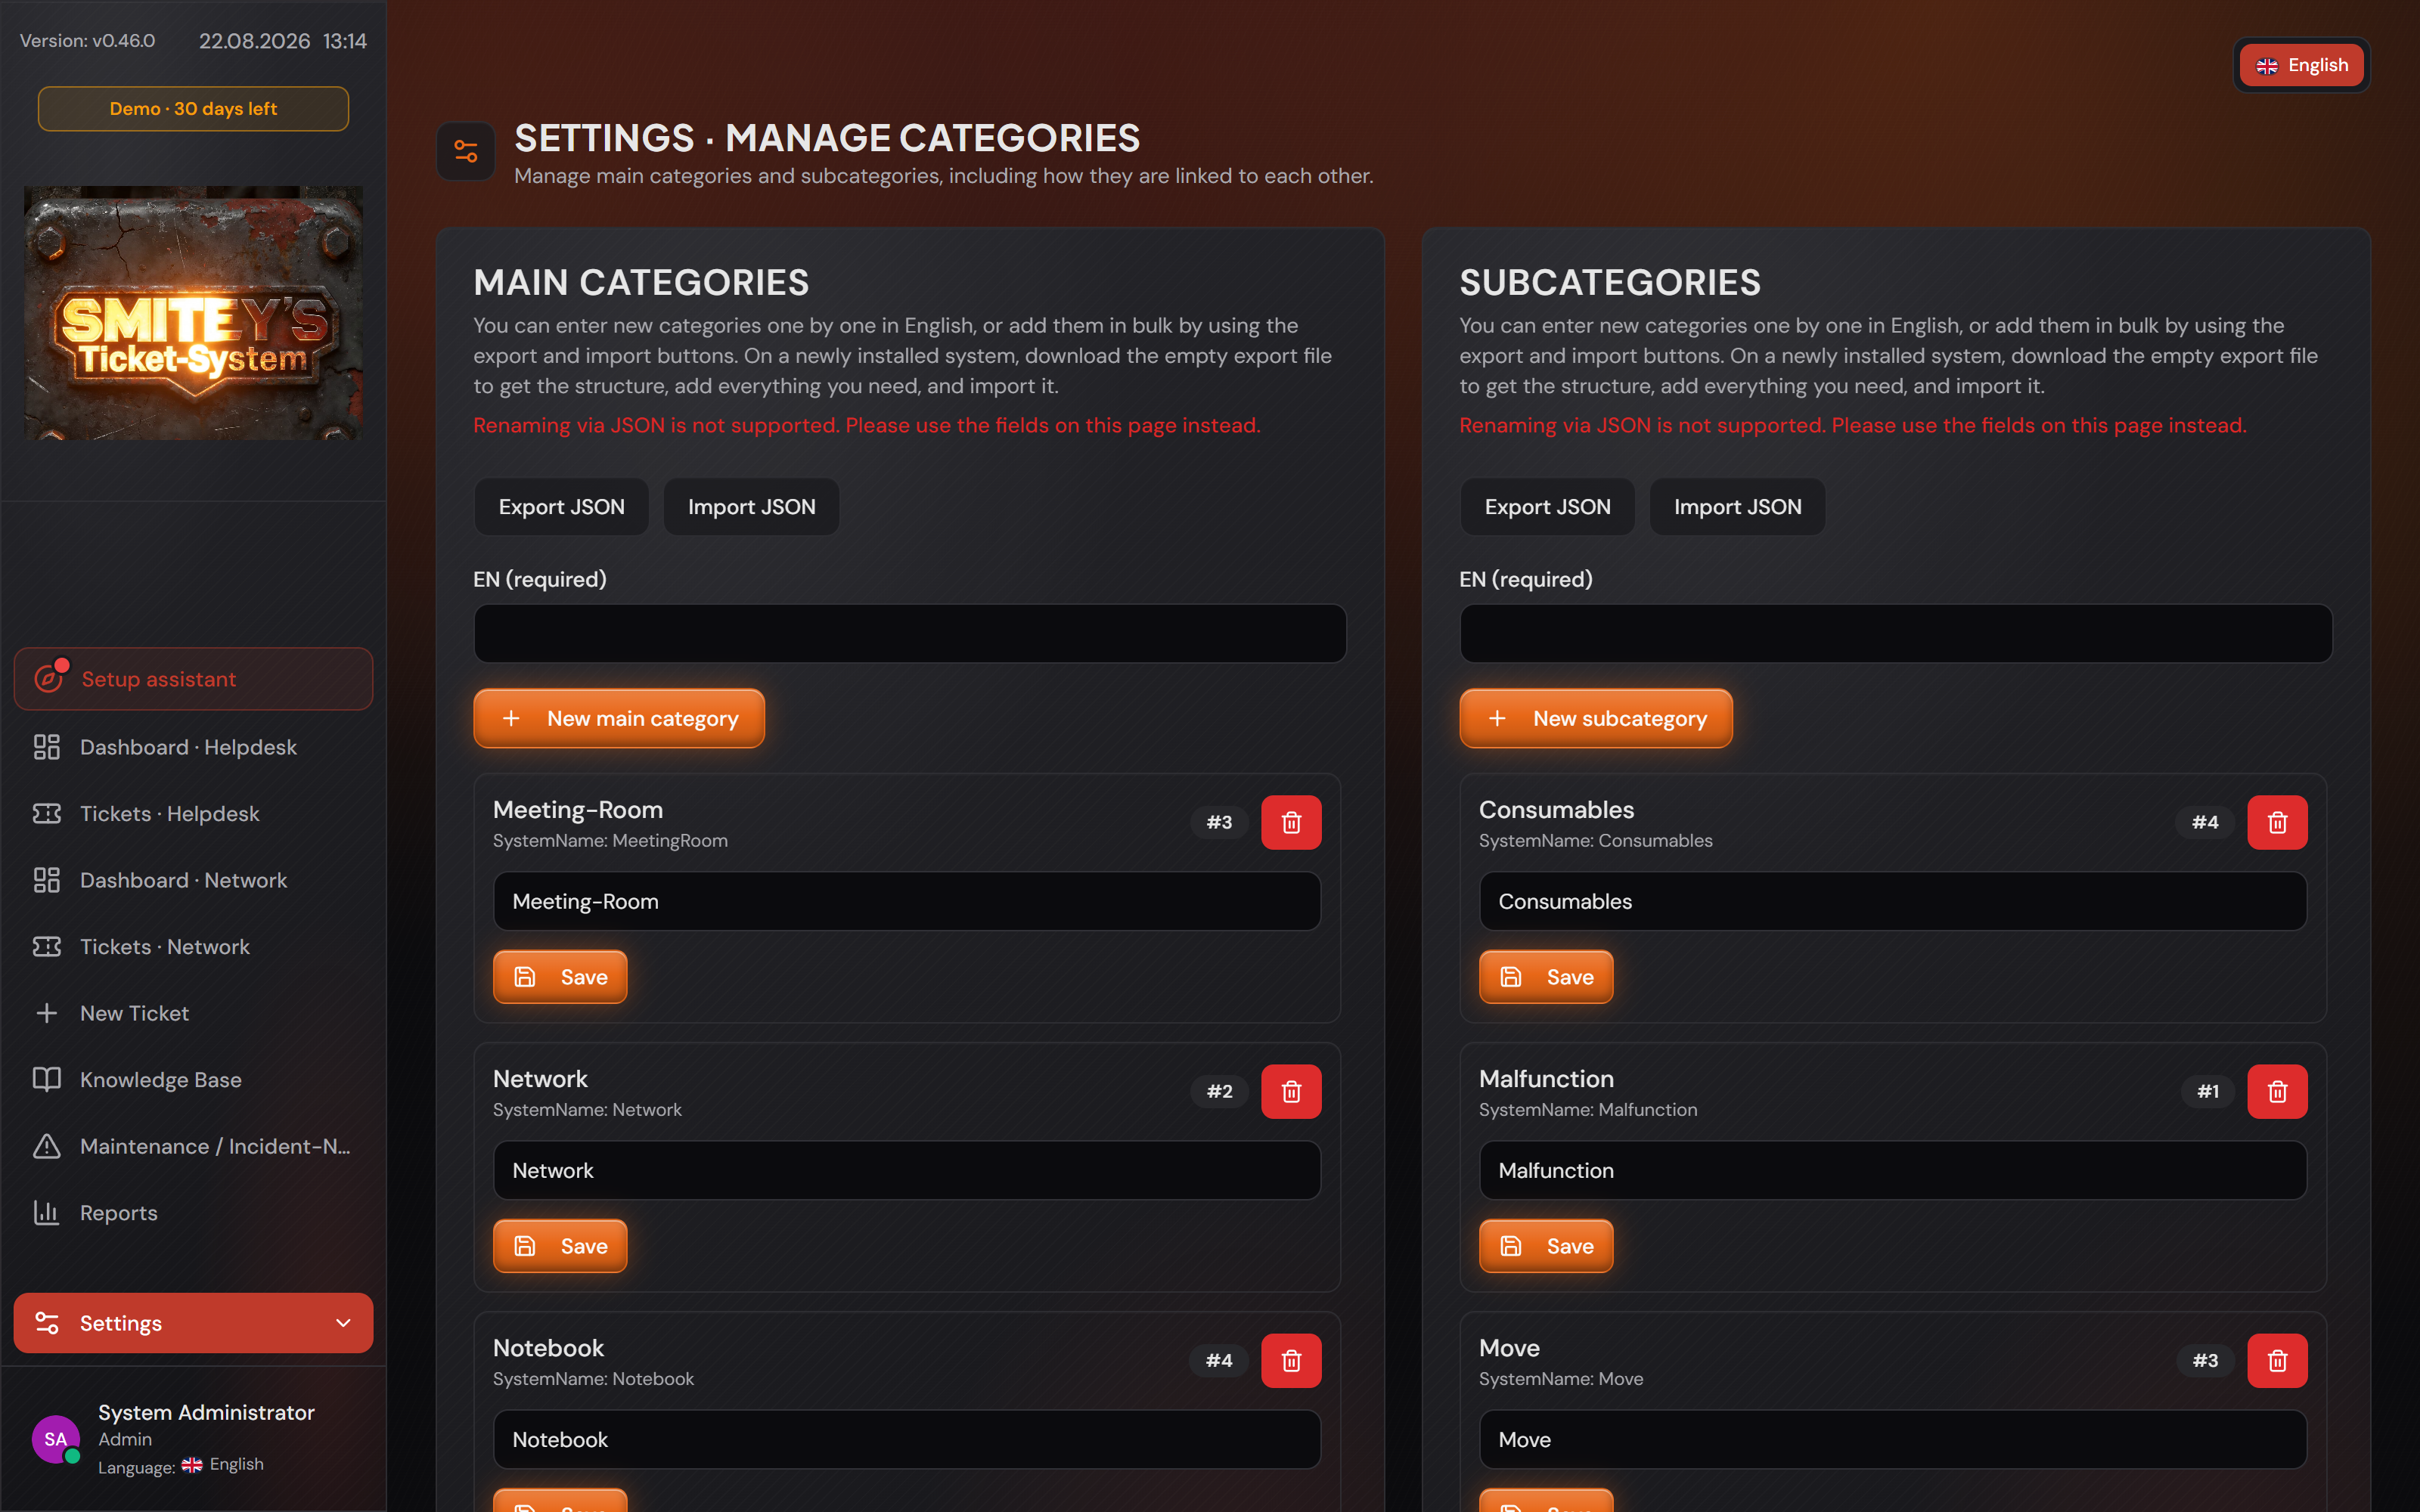
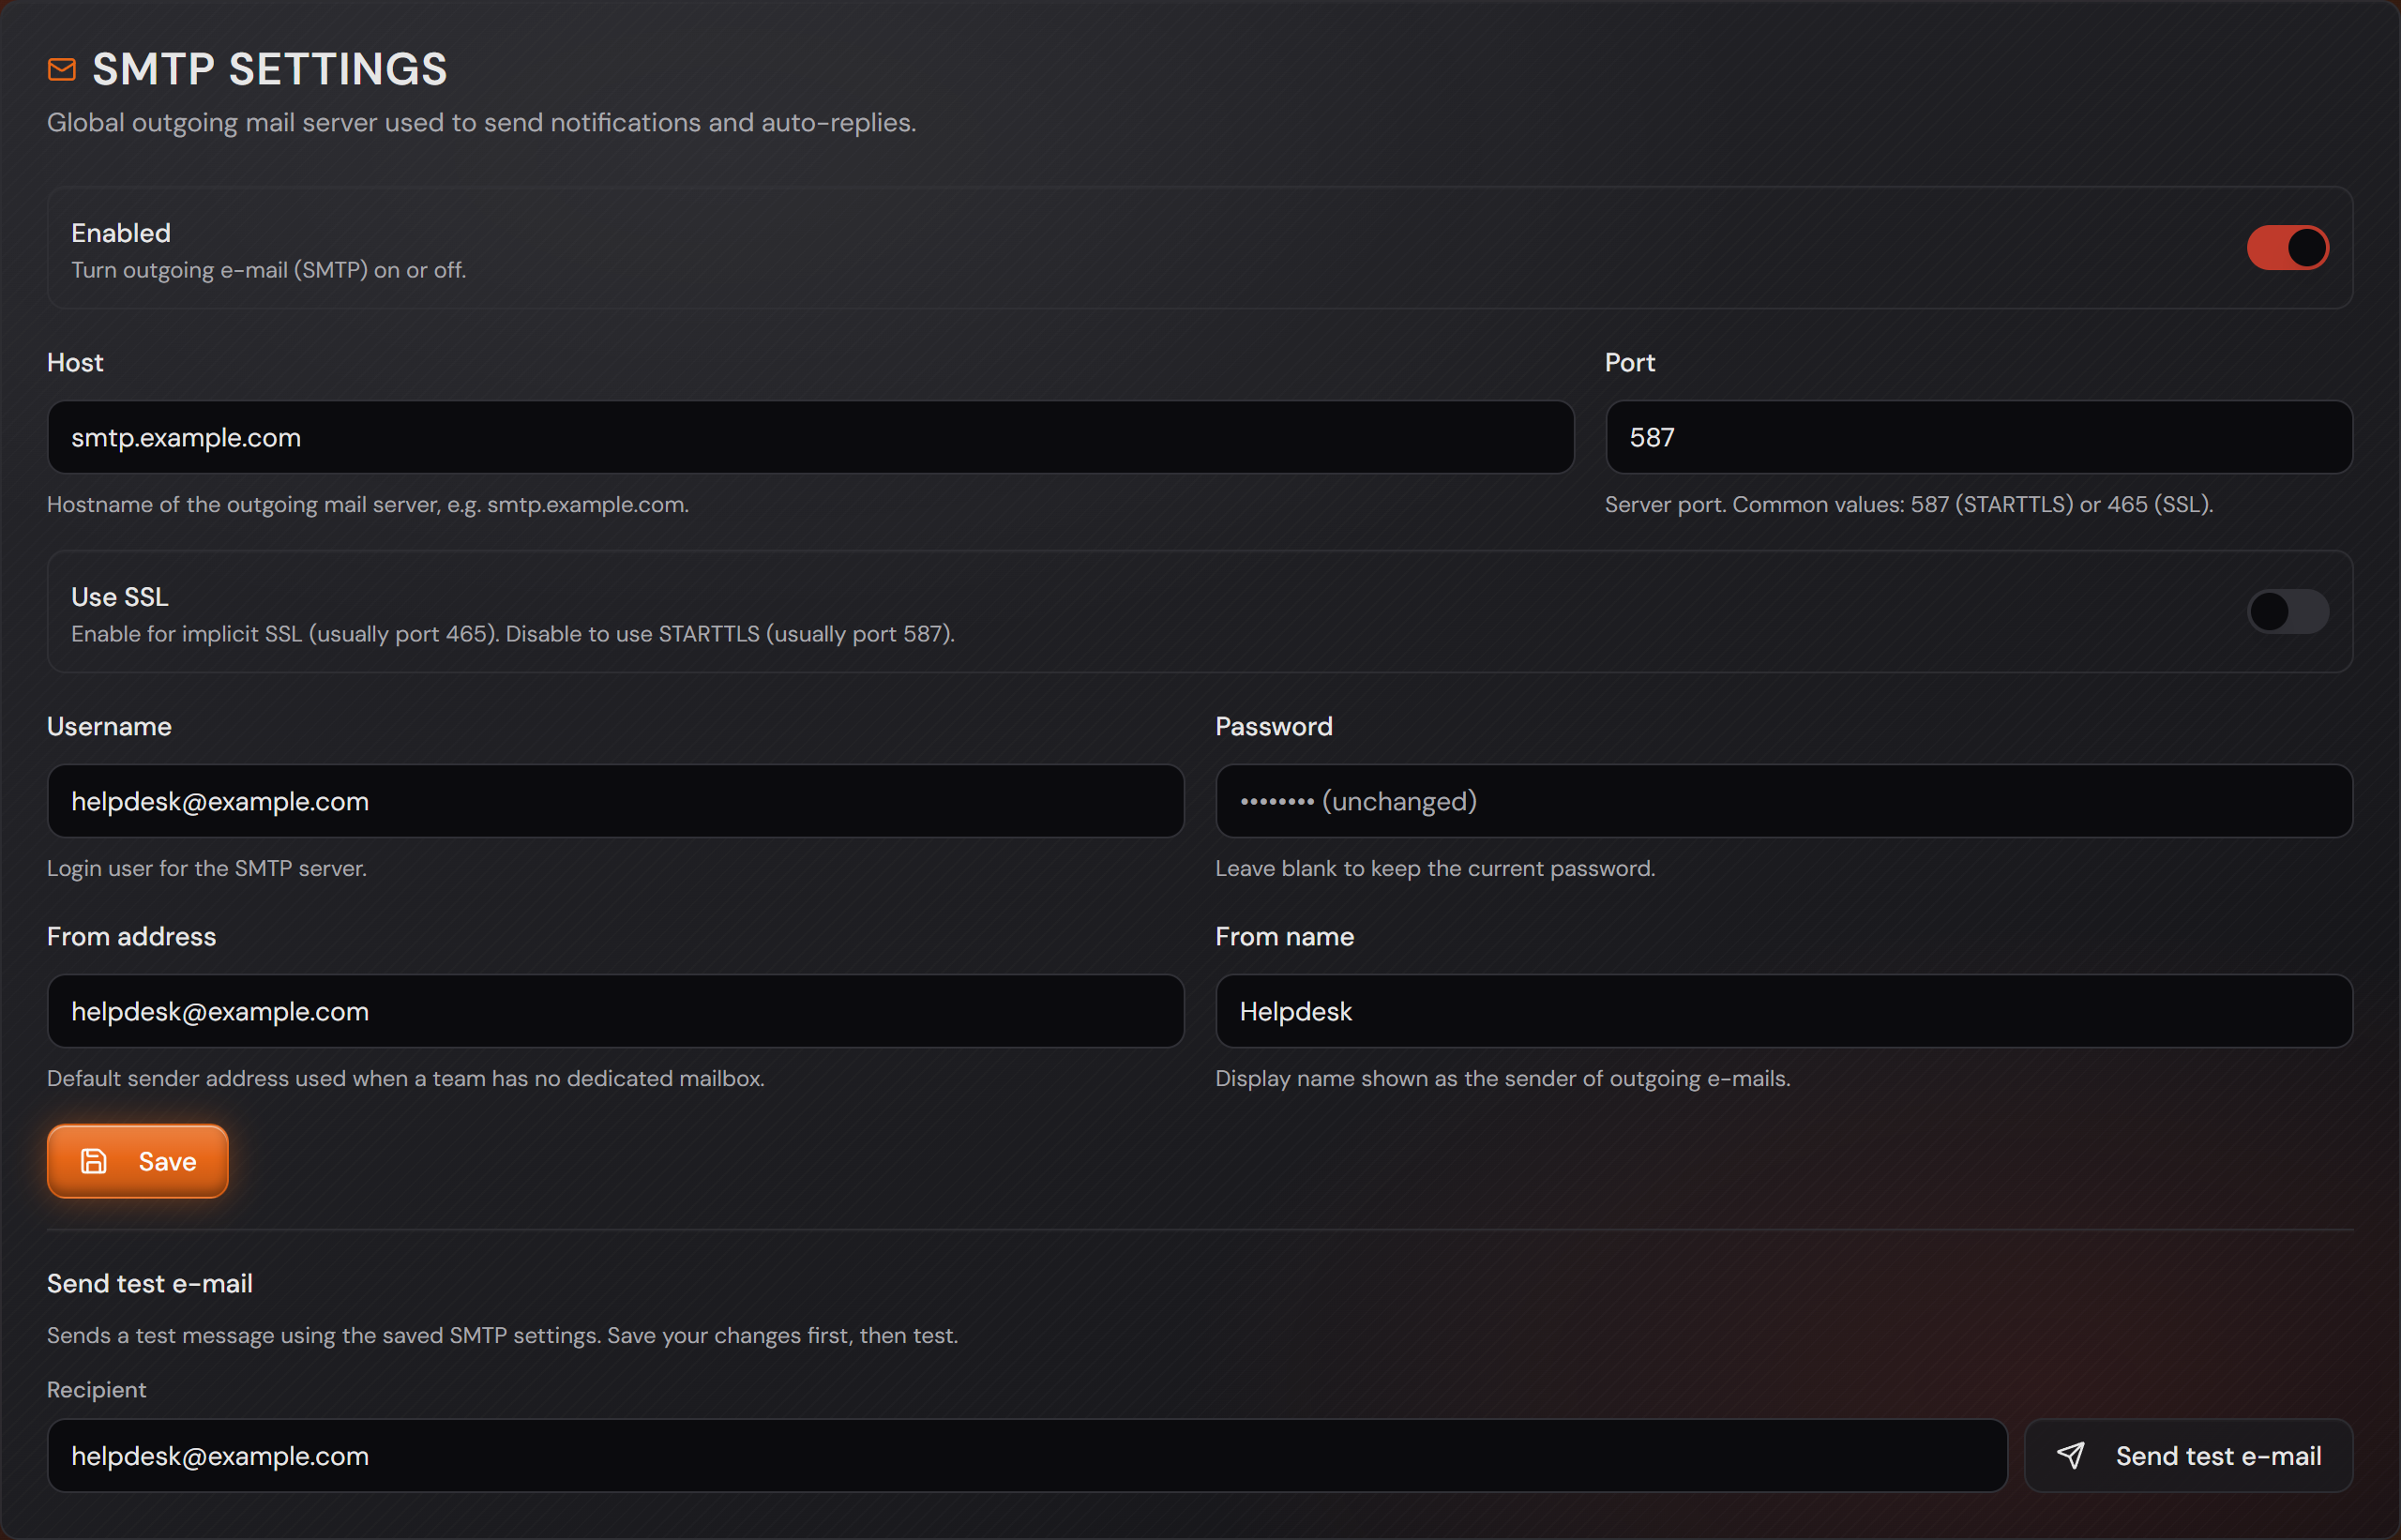
Everything for it sits under “Settings → E-Mail Settings”. The upper card, “SMTP settings”, is the way out: host, port, “Use SSL”, user and password, plus the sender address and sender name. With “Send test e-mail” you send yourself a sample — save first, then test, as the card says itself.
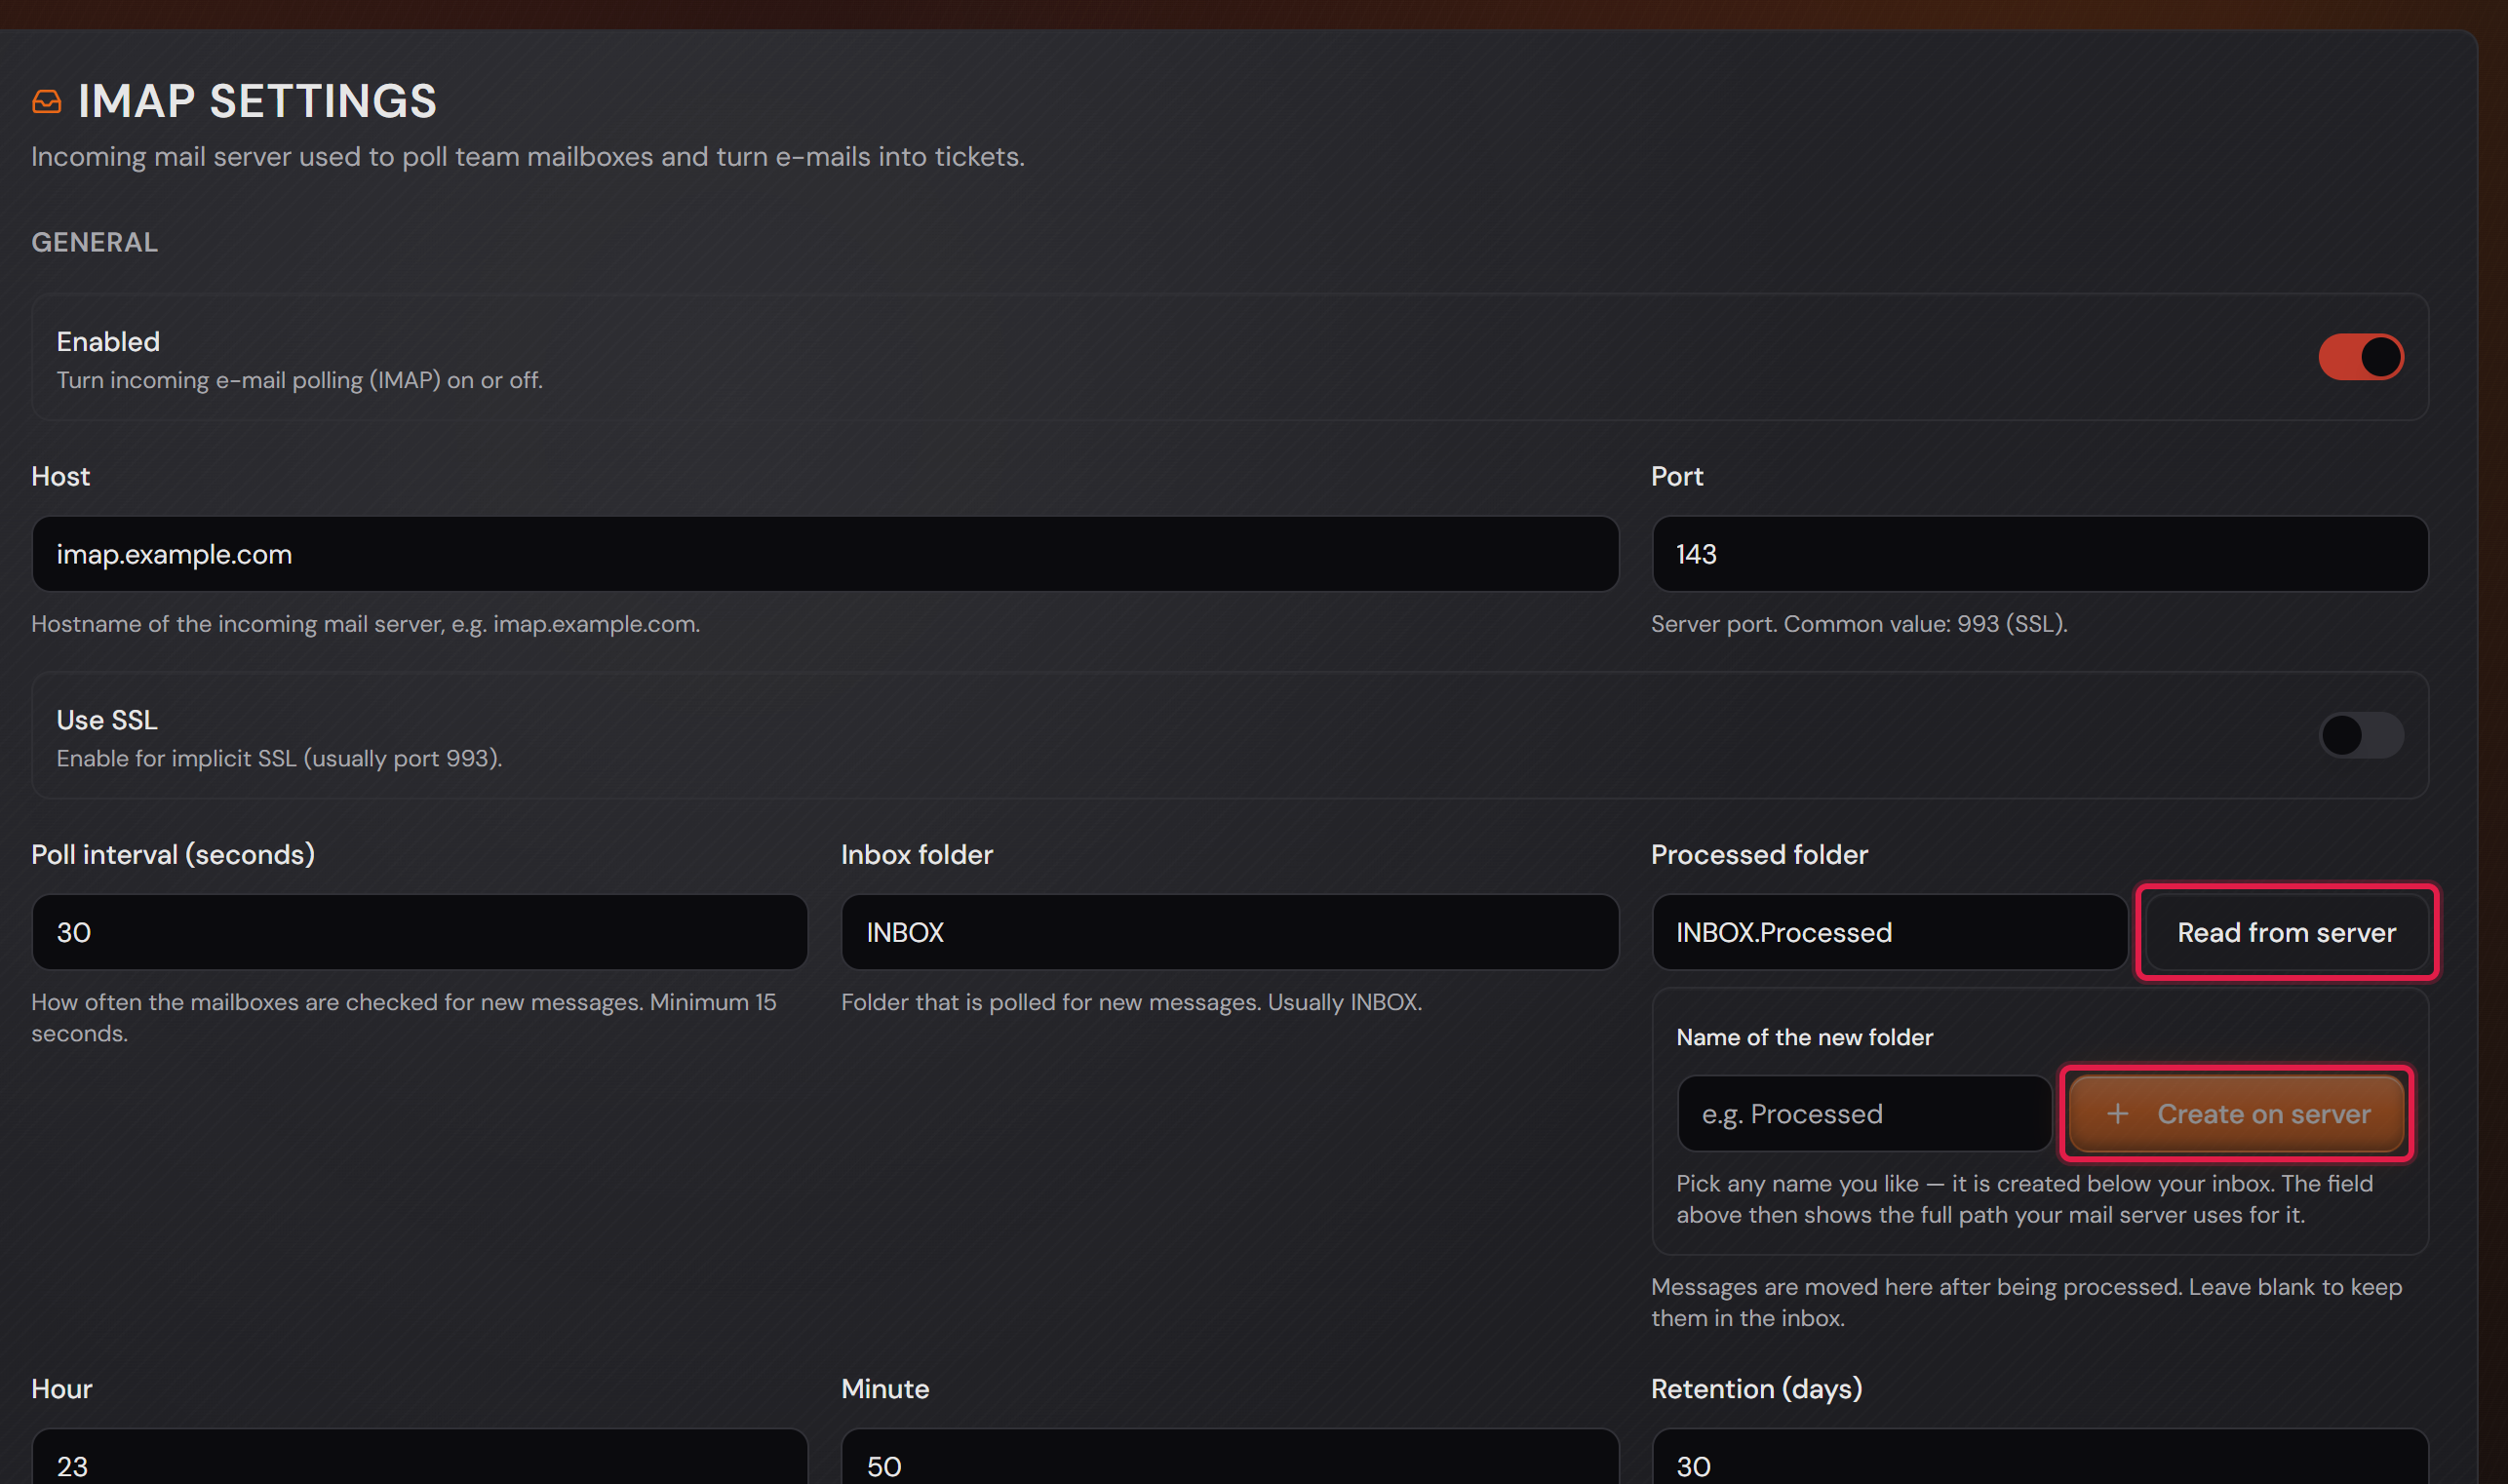
The “IMAP settings” card is the way in: host, port, the poll interval and the two folders. You do not have to guess the folder name: “Read from server” fetches the folders that actually exist in your mailbox, “Create on server” creates a new one. The field then takes the path your mail server uses for it — one server writes “INBOX/Processed”, the next one “INBOX.Processed”, and both mean the same thing.
Processed mails move into the “Processed folder”; leave it empty and they stay in the inbox. Below that you set when the cleanup runs (“Hour”, “Minute”) and how old a message may get (“Retention (days)”) — otherwise the mailbox quietly keeps growing.
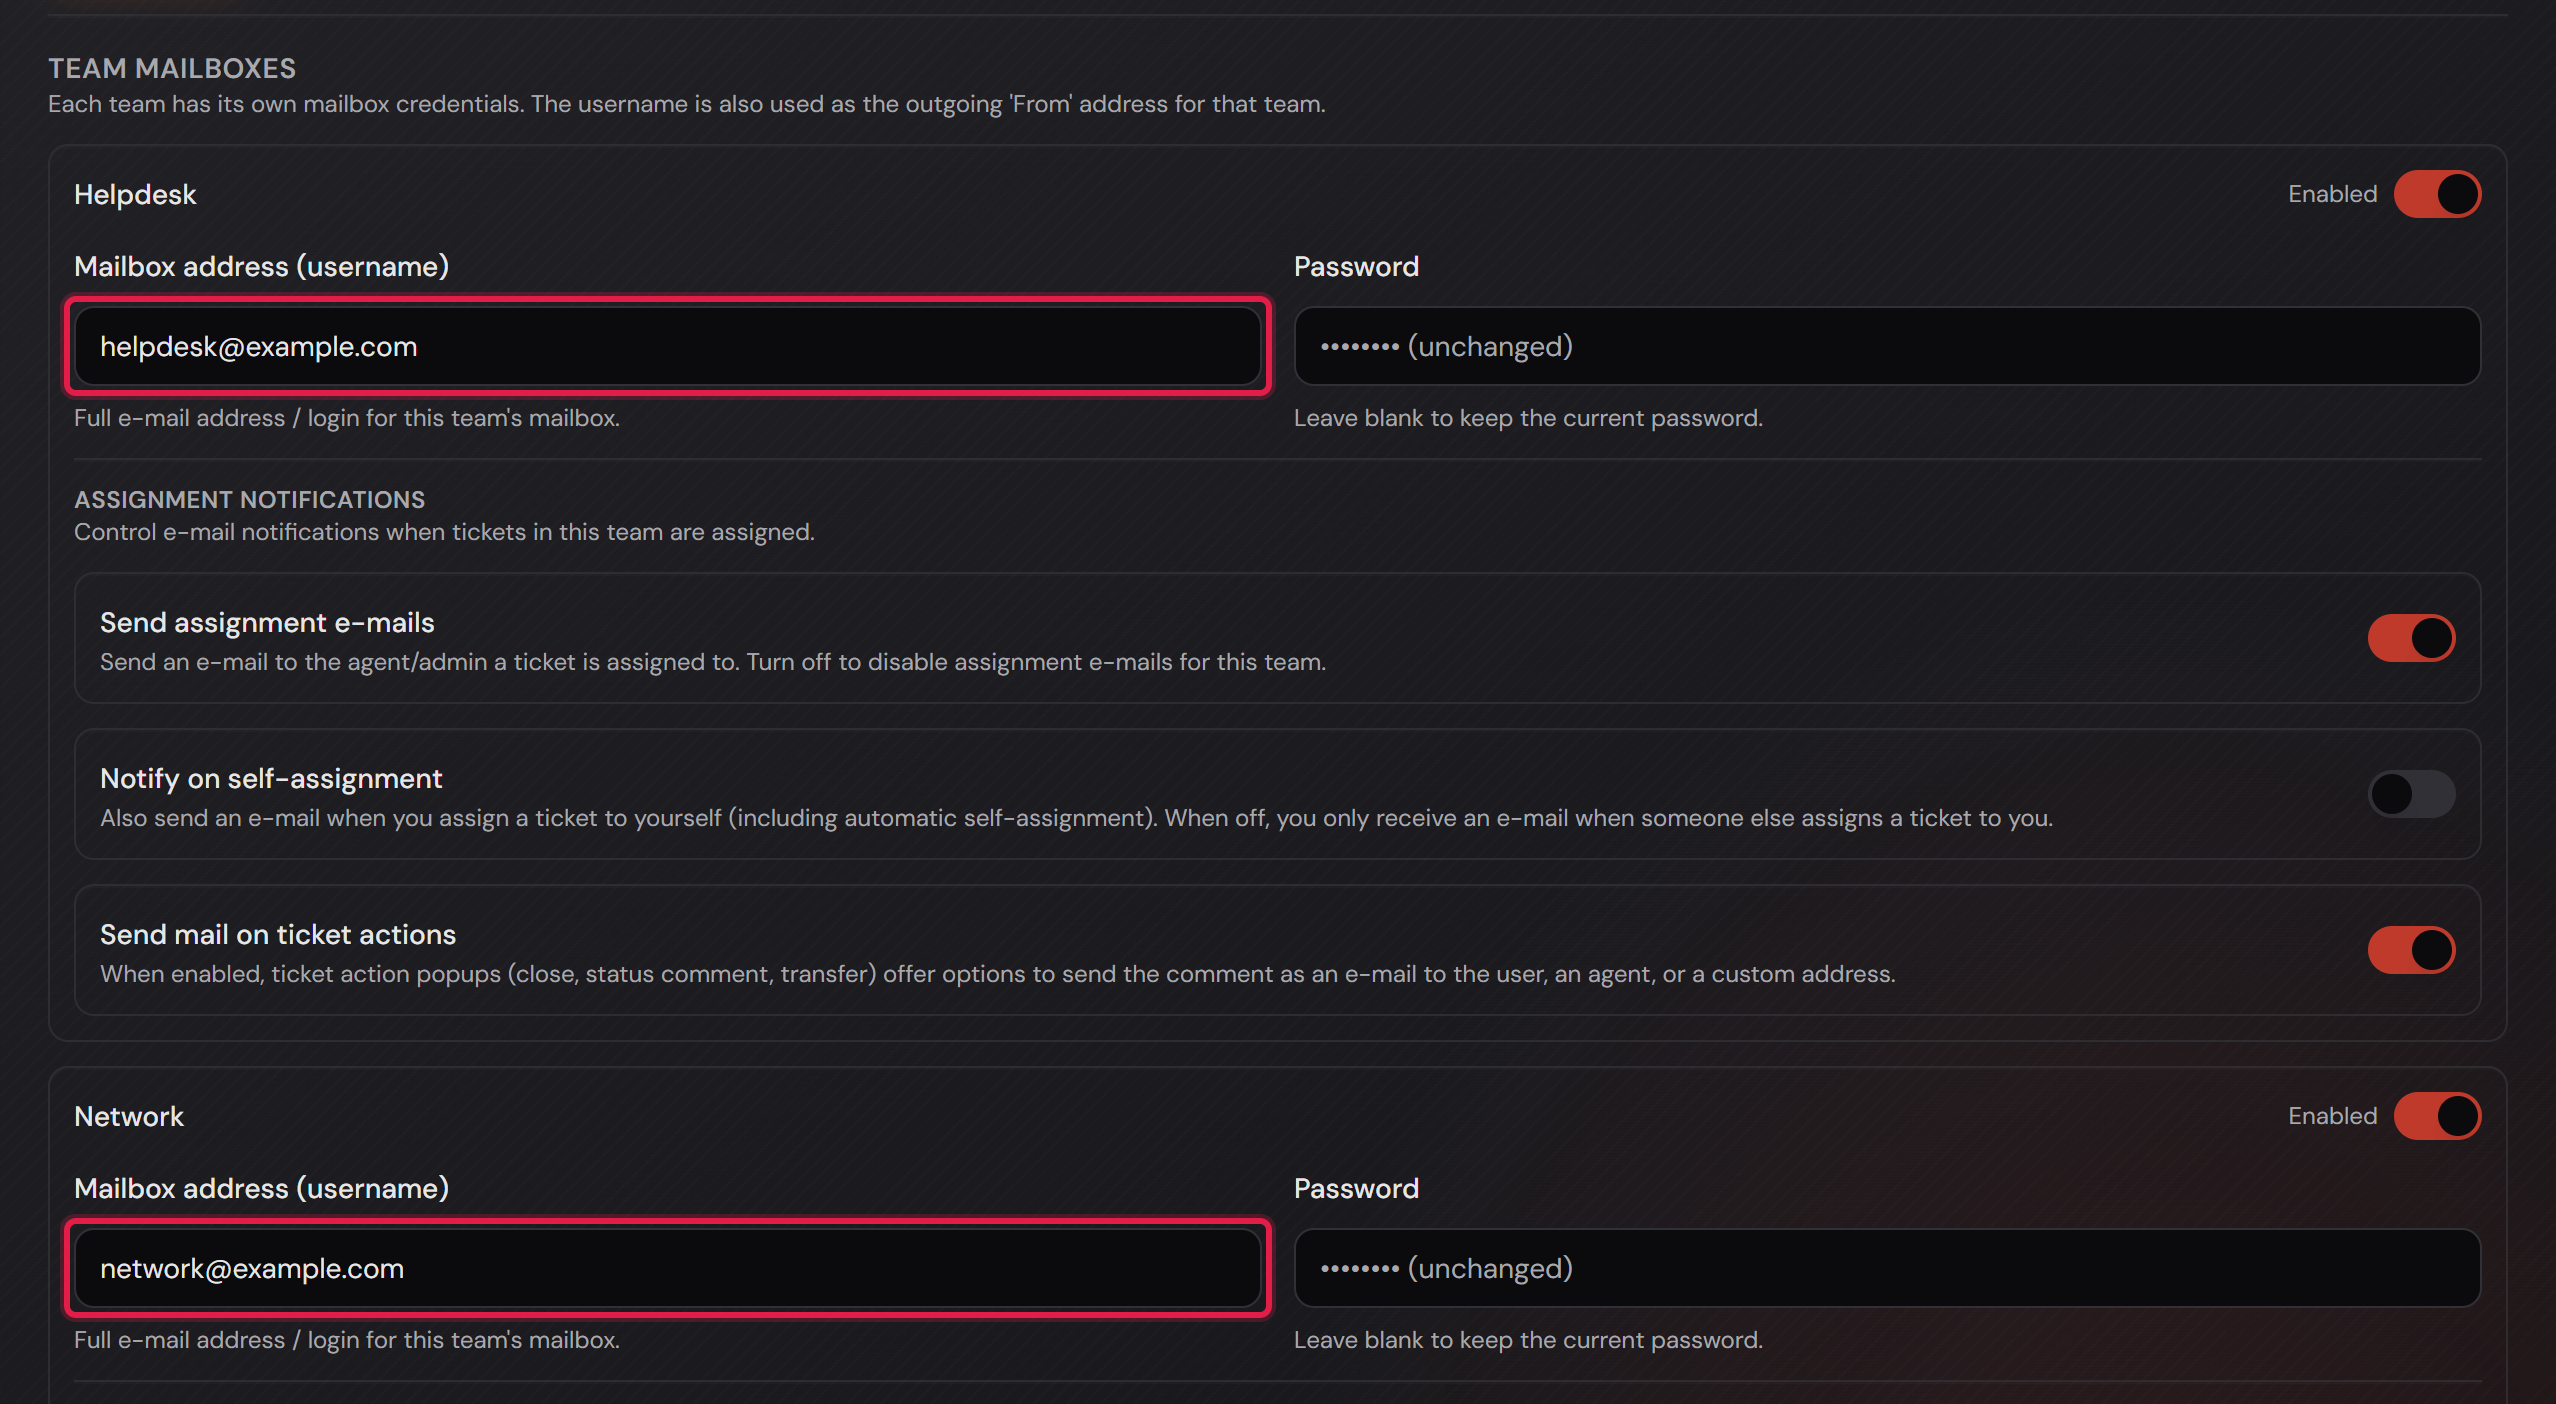
Mailboxes belong to the team, not to the system: under “Team mailboxes” each team enters its own address with a password. That address is at the same time the sender of that team’s mails — so the requester replies to the same place the mail is collected from.
And now the part without which none of this happens: the workflow. A configured mailbox on its own does nothing at all. If a team has no enabled workflow, the mailbox is not even polled — no ticket, no confirmation, the mails just sit there. The automatic reply to your customers exists only here, and you set it up yourself. That is on purpose: a system that writes to every sender address unasked would be worse than one that stays quiet.
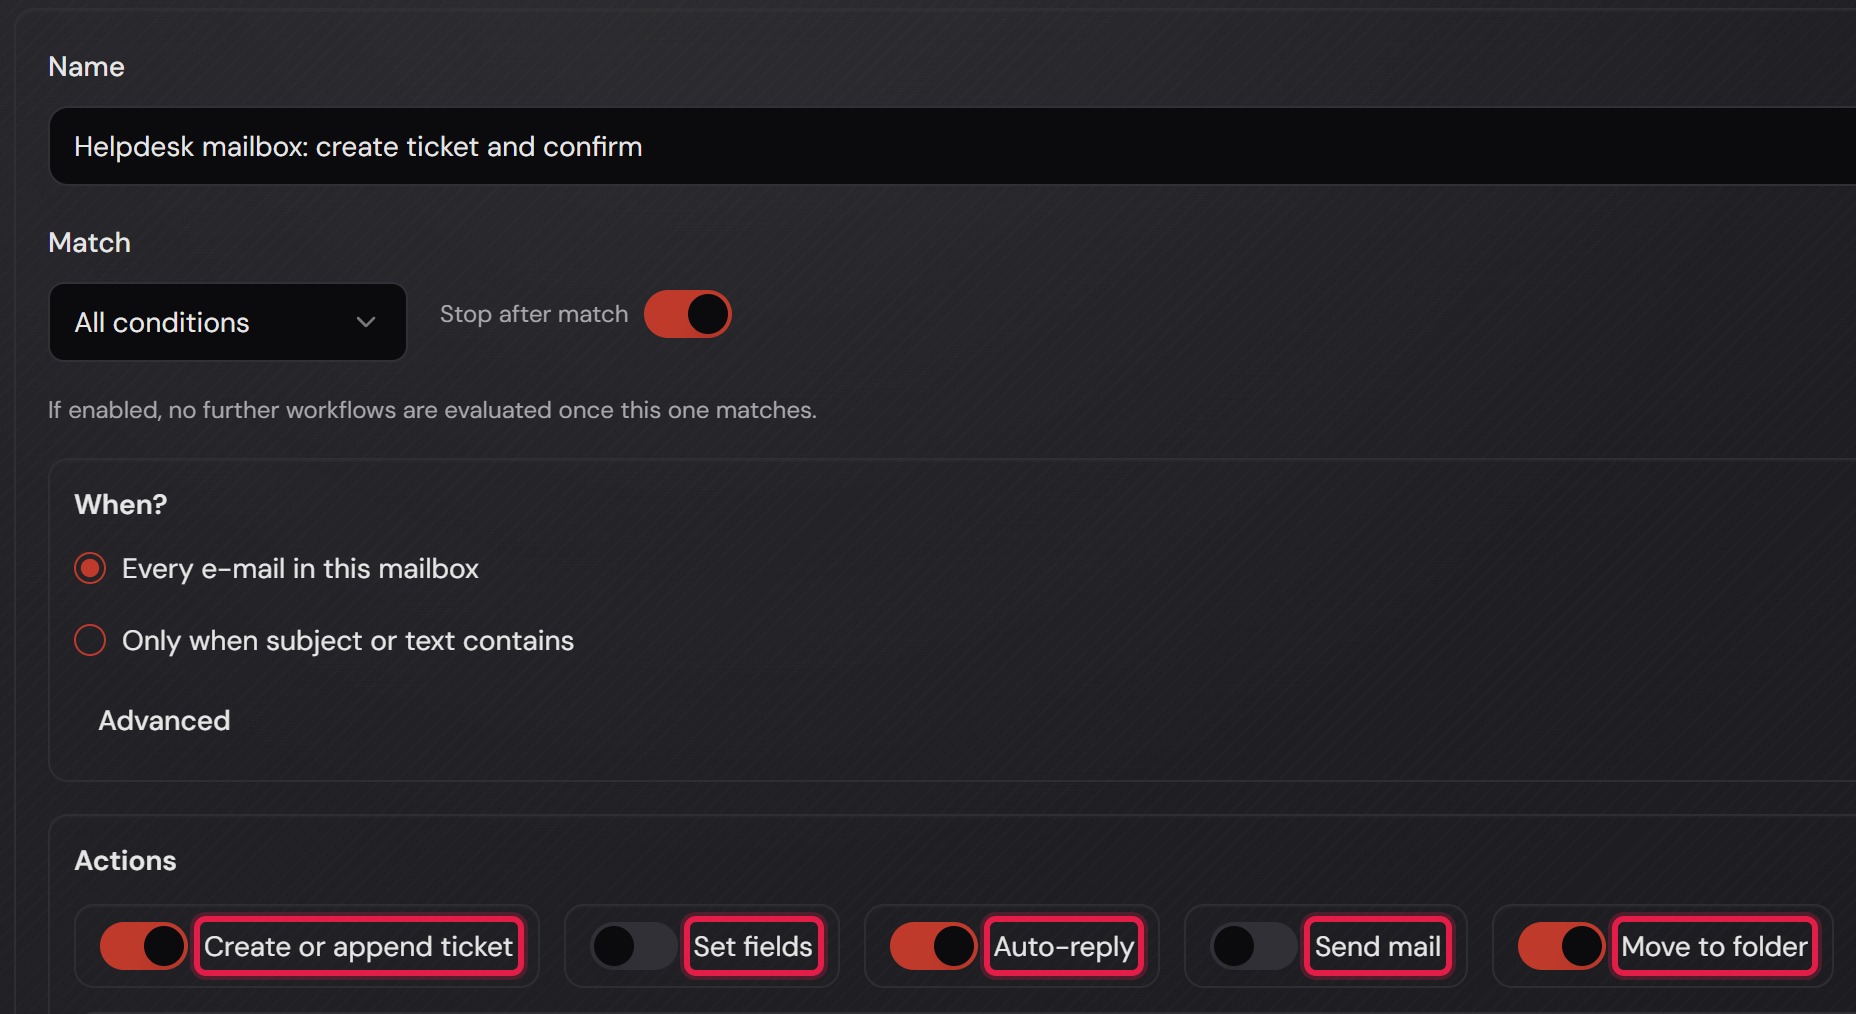
Under “E-Mail workflows” you pick the team at the top and create a workflow with “+ Add workflow”. It gets a name (for you only), an “Enabled” switch and two statements about when it applies: “Match” decides whether all conditions must be true (“All conditions”) or one is enough, and “Stop after match” ends the run as soon as this workflow has matched — a workflow further down never gets its turn then. You change the order with the arrows next to it.
Under “When?” sits the condition itself. “Every e-mail in this mailbox” takes every mail; “Only when subject or text contains” requires a word in the subject or the body. “Advanced” makes it precise: there you choose what is looked at — “Subject or body”, “Subject”, “Body”, “Sender (From)” or “Recipient (To/Cc)” — and how it is compared: “Contains”, “Equals” or “Regex”. That is how you separate, say, reports to a shared address from everything else.
Below that sit five actions as switches. They are the actual content of the workflow — whatever is not switched on does not happen:
“Create or append ticket” turns the mail into a ticket — or appends it as a comment to an existing one when the reference is in the subject. Without this action a mail never becomes a case.
“Set fields” sets priority, status, main and sub category, owning team and assignee right when the ticket is created. Everything left on “— Keep default —” stays as it would be without a workflow.
“Auto-reply” is the confirmation to the sender — the only place where the system answers on its own. With this switch off your customer never gets an automatic reply, no matter how well everything else is set up.
“Send mail” sends an additional mail: either to the sender of the incoming mail or to selected team members and fixed addresses. It has its own “Send conditions” — leave them empty and it goes out on every run of this workflow.
“Move to folder” files the processed mail into a folder. Leave the field empty and the general “Processed folder” from the IMAP settings above applies.
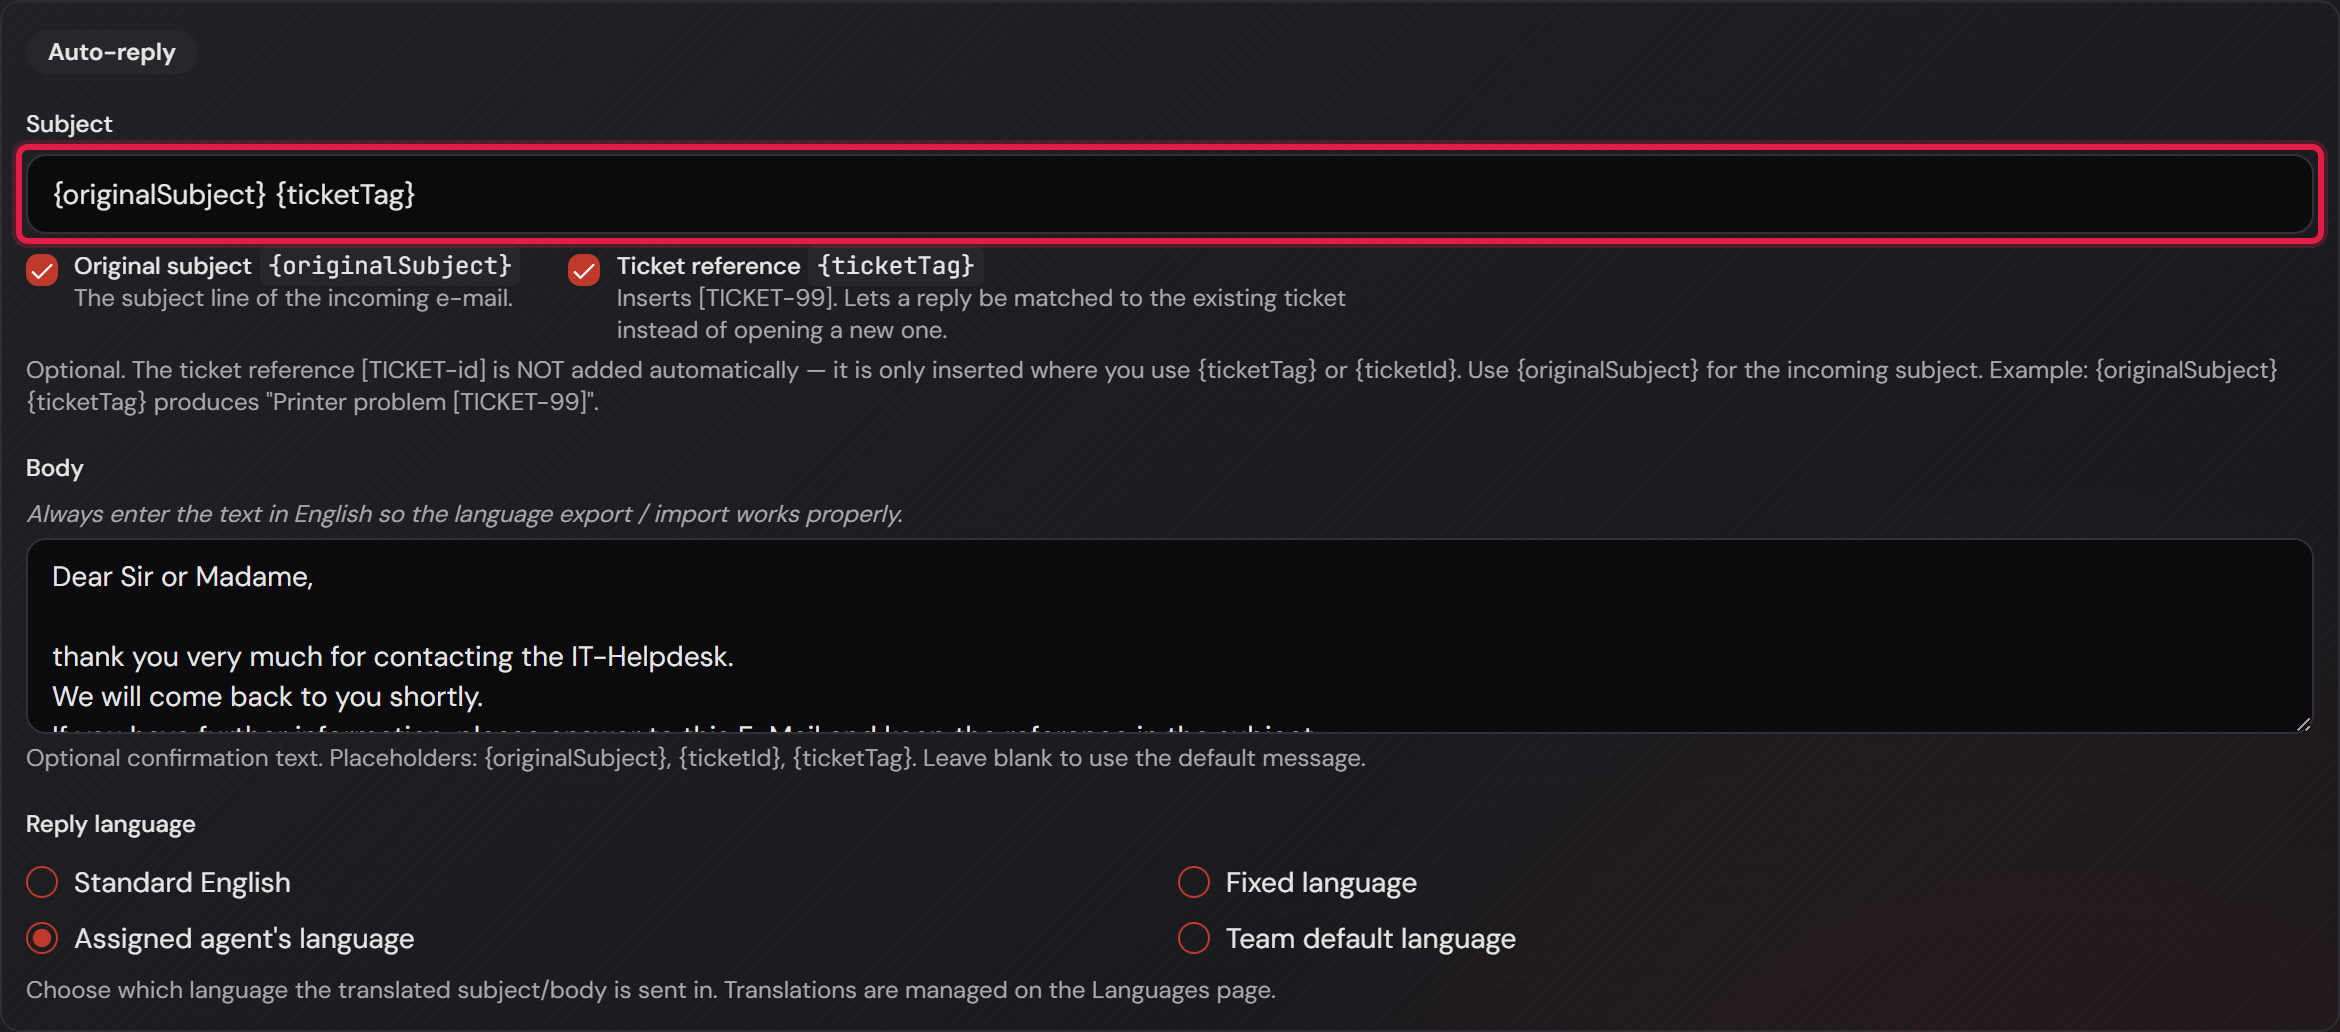
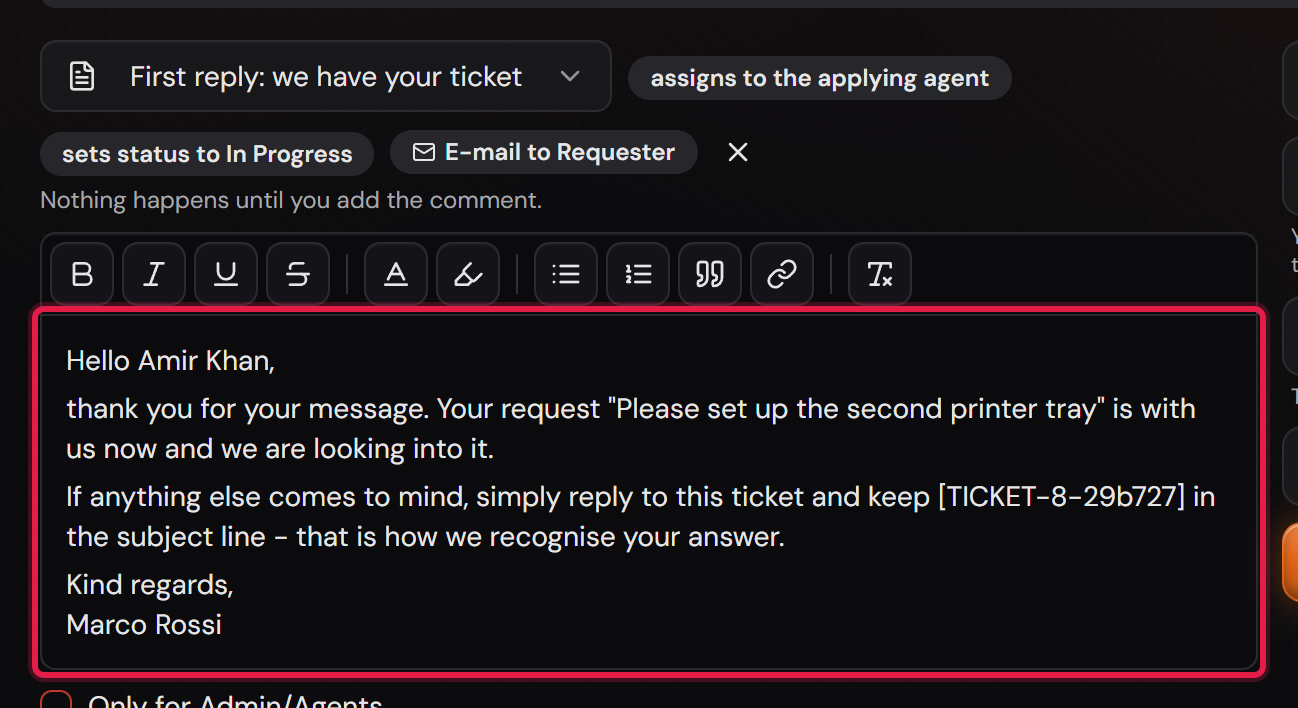
The “Auto-reply” action in detail: you build the subject from blocks. “Original subject {originalSubject}” takes over the subject of the incoming mail, “Ticket reference {ticketTag}” inserts the case reference — together they produce something like “Printer problem [TICKET-99]”.
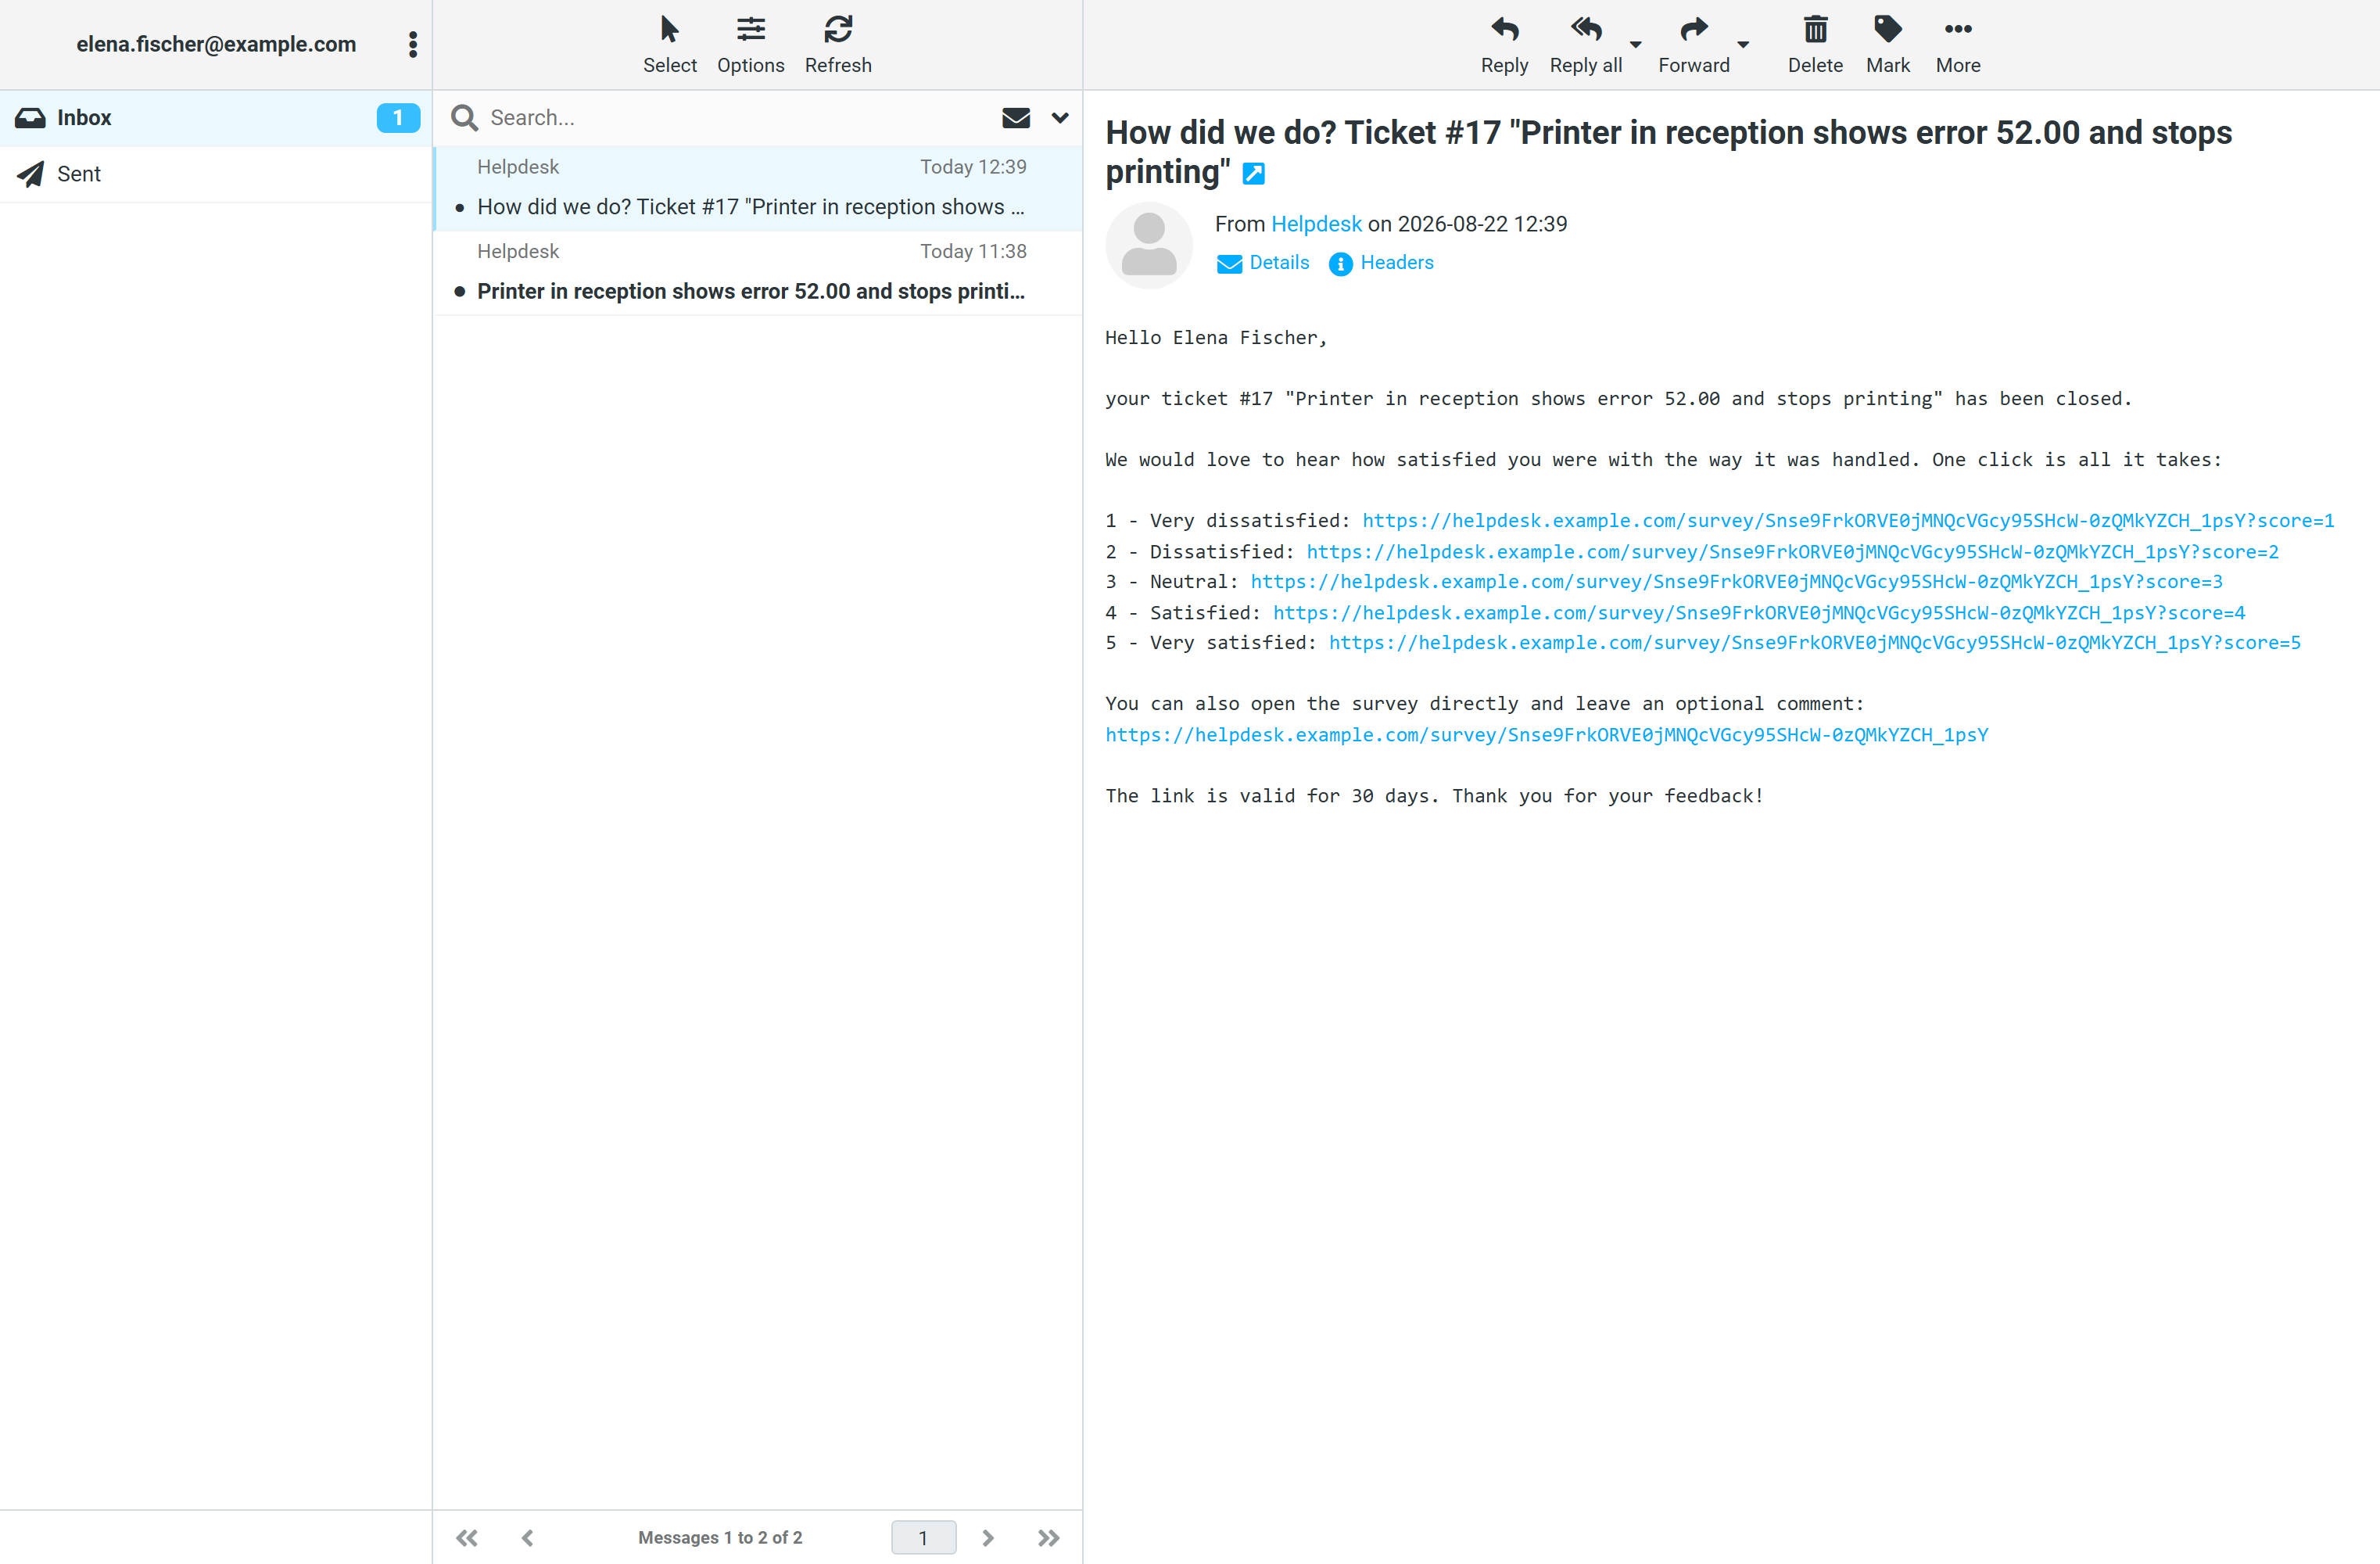
The reference is not added by itself. It appears only where you put {ticketTag} or {ticketId} — and that is exactly what the system recognises your customer’s reply by later. Without it in the subject, every follow-up starts a new ticket instead of becoming a comment on the old one.
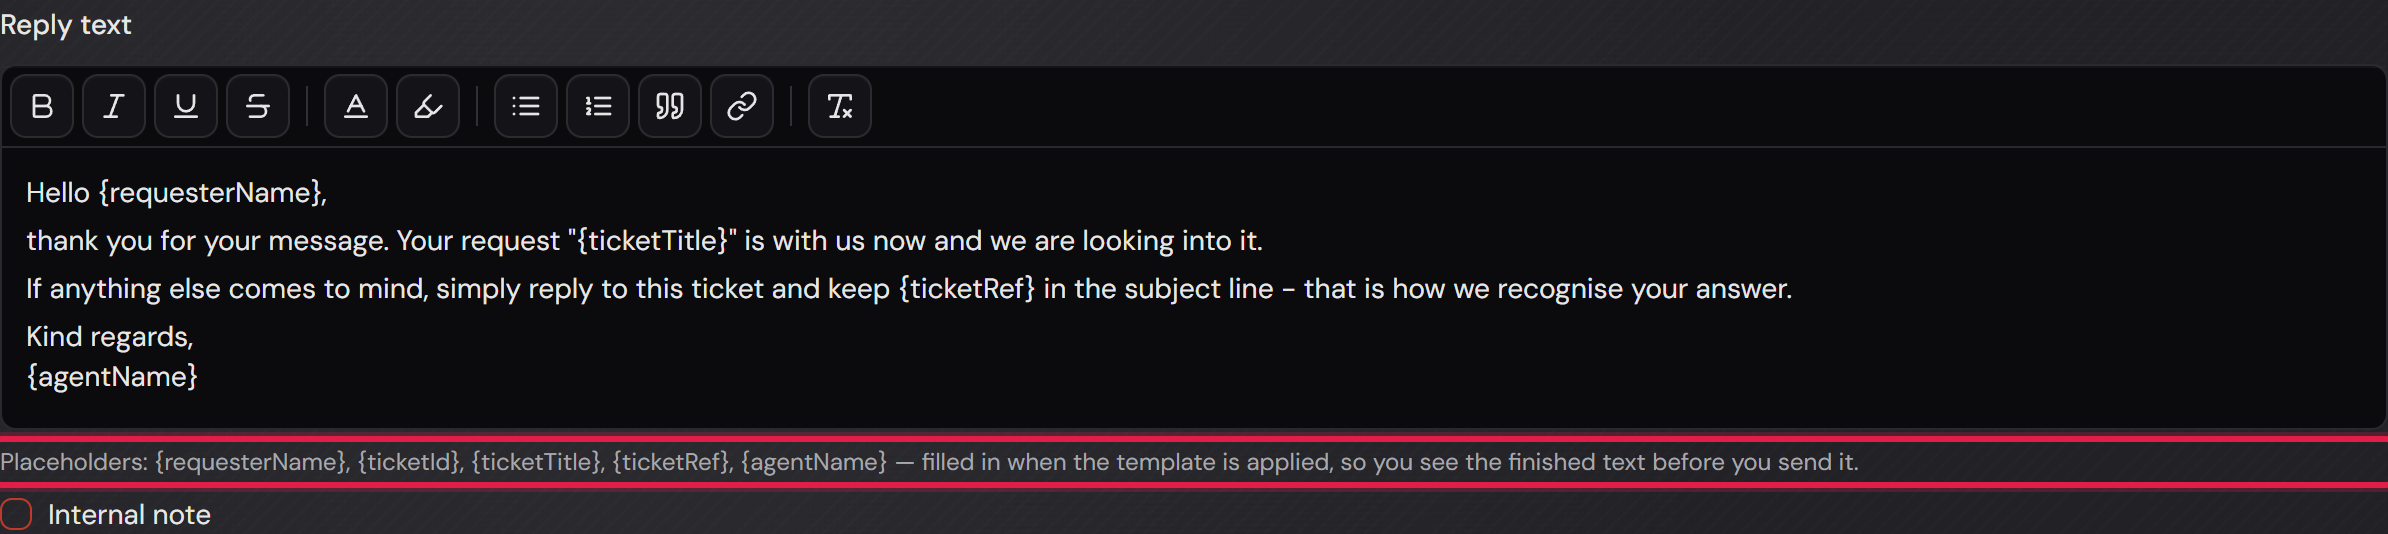
The text below it is your confirmation message. Write it in English: it runs through the same export/import as every other text, and only that way can it be translated into the other languages. Leave it empty and the system sends its own default message. The same placeholders are allowed here as well.
“Reply language” decides which language the subject and the text go out in: “Standard English” uses English, “Fixed language” a language you pick, “Assigned agent's language” the language of the assigned agent, and “Team default language” the team’s default. The translations themselves are maintained on the languages page.
One piece of advice that the system prints above the card as well: everything belonging to one case belongs in ONE workflow. Only actions inside the same workflow know the ticket that was just created — that is why the confirmation can name its number and an action from a second workflow cannot.
The whole mail channel — in and out — is part of the Professional edition. In Basic the system neither sends nor receives e-mail; tickets are created there through the portal, the phone and the agent.